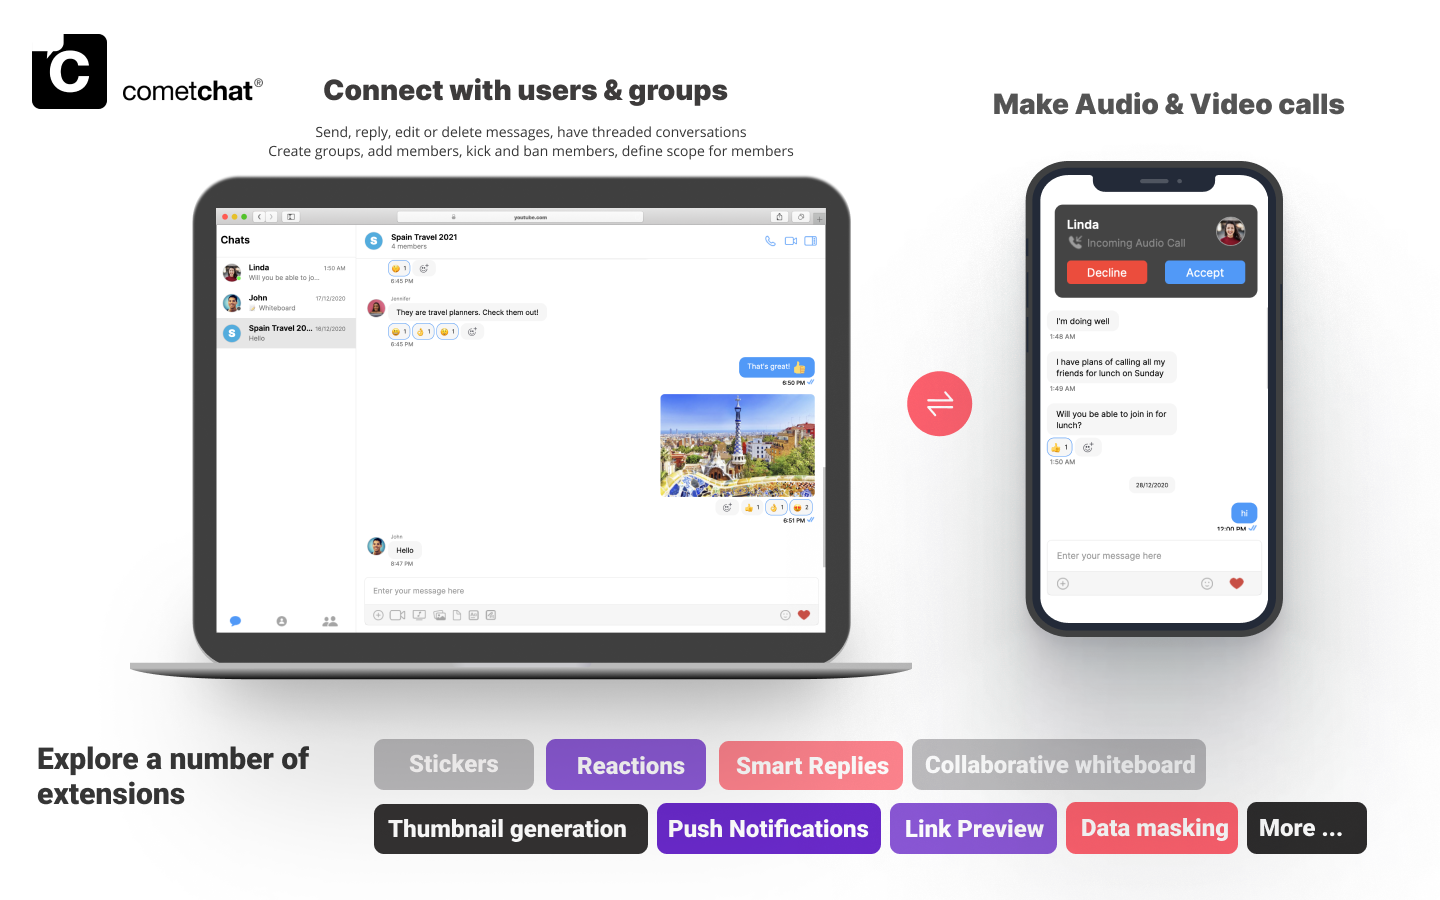
The CometChat Vue UI Kit is developed to keep developers in mind and aims to reduce development efforts significantly.
The UI Kit’s customizable UI components simplify the process of integrating text chat and voice/video calling features to your website or mobile application in a few minutes.
I want to checkout Vue UI Kit
Follow the steps mentioned in the README.md file.Kindly, click on below button to download our Vue UI Kit. Prerequisites
Before you begin, ensure you have met the following requirements:
- A text editor. (e.g. Visual Studio Code, Notepad++, Sublime Text, Atom, or VIM)
- Node
- npm
- Vue
For installing Vue 2
For installing Vue 3
Installing Vue UI Kit
Setup
-
Register on CometChat 🔧
- To install Vue UI Kit, you need to first register on the CometChat Dashboard. Click here to Sign Up.
-
Get your application keys 🔑 a. Create a new app. b. Head over to the QuickStart or API & Auth Keys section and note the App ID, Auth Key, and Region.
-
Add the CometChat dependency 📦
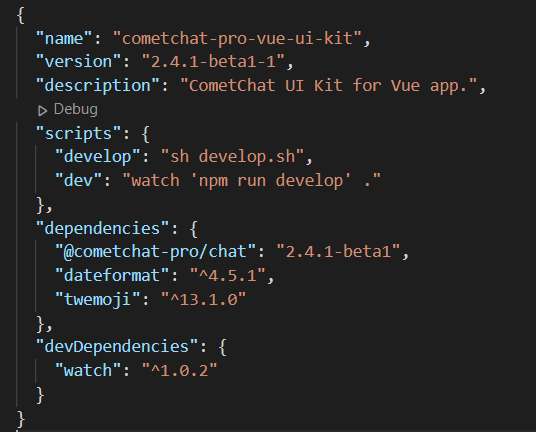
npm install @cometchat-pro/chat@2.4.1-beta1 --save
import { CometChat } from "@cometchat-pro/chat";
const appID = "APP_ID";
const region = "REGION";
const appSetting = new CometChat.AppSettingsBuilder()
  .subscribePresenceForAllUsers()
  .setRegion(region)
  .build();

CometChat.init(appID, appSetting).then(
  () => {
    console.log("Initialization completed successfully");
    // You can now call login function.
  },
  error => {
    console.log("Initialization failed with error:", error);
    // Check the reason for error and take appropriate action.
  }
);
Replace APP_ID and REGION with your CometChat App ID and Region in the above code
User object and the Auth Key as input parameters and returns the created User object if the request is successful.
let authKey = "AUTH_KEY";
var uid = "user1";
var name = "Kevin";

var user = new CometChat.User(uid);
user.setName(name);
CometChat.createUser(user, authKey).then(
    user => {
        console.log("user created", user);
    },error => {
        console.log("error", error);
    }
)
const authKey = "AUTH_KEY";
const uid = "cometchat-uid-1";

CometChat.login(uid, authKey).then(
  user => {
    console.log("Login Successful:", { user });
  },
  error => {
    console.log("Login failed with exception:", { error });
  }
);
Replace AUTH_KEY with your CometChat Auth Key in the above code.
We have set up 5 users for testing having UIDs: cometchat-uid-1, cometchat-uid-2, cometchat-uid-3, cometchat-uid-4, and cometchat-uid-5.We have used uid cometchat-uid-1 as an example here. You can create a User from CometChat Dashboard as well.
Add UI Kit to your project
git clone https://github.com/cometchat-pro/cometchat-pro-vue-ui-kit.git -b v2
- Copy the folder to your source folder.
-
Copy all the dependencies from package.json of
cometchat-pro-vue-ui-kit into your project’s package.json and install them.
-
We are using emoji-mart-vue-fast Please install respective library depending on your Vue version
-
- For Vue2 :
npm install emoji-mart-vue-fast@7.0.7
- For Vue3 :
npm install emoji-mart-vue-fast@8.0.3
Launch CometChat
Using the CometChatUI component from the UI Kit, you can launch a fully functional chat application. In this component, all the UI Components are interlinked and work together to launch a fully functional chat on your website/application.
Usage
<template>
 <div id="app">
   <CometChatUI />
 </div>
</template>

<script>
 import { CometChatUI } from "./cometchat-pro-vue-ui-kit/CometChatWorkspace/src";
 export default {
   name: "App",
   components: {
     CometChatUI,
   }
 };
</script>
Checkout our sample app
Visit our Vue sample app repo to run the Vue sample app.